The Fisher & Paykel DishDrawer manual provides essential troubleshooting guidance to resolve common issues‚ ensuring optimal performance and extending appliance lifespan. This guide covers fault codes‚ maintenance‚ and repair tips.
1.1 Overview of DishDrawer Technology
Fisher & Paykel’s DishDrawer technology offers a unique‚ drawer-style dishwasher design‚ combining innovative engineering with practical functionality. It features advanced SmartDrive motor technology for quiet operation and efficient cleaning. The DishDrawer is designed for seamless integration into modern kitchens‚ providing customizable wash cycles and energy-efficient performance. Its compact design allows for easy loading and unloading‚ while maintaining high-capacity cleaning. Regular maintenance‚ as outlined in the manual‚ ensures optimal performance and longevity of the appliance.
Proper troubleshooting is essential to maintain your DishDrawer’s performance and extend its lifespan. Identifying and addressing issues early prevents minor problems from escalating into costly repairs. It ensures efficient operation‚ energy savings‚ and consistent cleaning results. Regular troubleshooting also enhances safety by preventing potential hazards‚ such as water leaks or electrical faults. By following the manual’s guidelines‚ users can diagnose and resolve common issues‚ ensuring their appliance runs smoothly and remains under warranty. This proactive approach safeguards your investment and guarantees reliable service over time.

Common Fault Codes and Their Solutions
1.2 Importance of Proper Troubleshooting
Proper troubleshooting is crucial for maintaining your DishDrawer’s efficiency and longevity. It helps identify issues early‚ preventing costly repairs and ensuring optimal performance. Regular checks can prevent minor problems from escalating‚ saving time and money. Troubleshooting also enhances safety by addressing potential hazards like leaks or electrical faults. By following the manual’s guidelines‚ users can resolve common issues effectively‚ ensuring their appliance runs smoothly and remains under warranty. Consistent troubleshooting safeguards your investment and guarantees reliable service over time.
2.1 Understanding Error Codes (U1‚ U6‚ A1‚ A3)
Fisher & Paykel DishDrawer error codes like U1‚ U6‚ A1‚ and A3 indicate specific issues. U1 refers to a fill fault‚ often due to water supply problems. U6 may signal a spray arm issue or blockage. A1 indicates a water supply fault‚ such as a closed tap or blocked filter. A3 points to drainage problems‚ like a clogged drain hose. Understanding these codes helps diagnose issues quickly‚ guiding users to the right solutions. Always consult the manual for detailed explanations and repair steps.
2.2 How to Identify Fault Codes on Your DishDrawer
To identify fault codes on your Fisher & Paykel DishDrawer‚ check the LED lights or digital display on the control panel. Error codes like U1‚ U6‚ A1‚ or A3 will flash or appear during operation. Refer to your user manual for code meanings‚ as they indicate specific issues such as water supply problems or drainage faults. Some models may require pressing and holding the “Start” or “Pause” button to reveal the fault code. Always consult the manual for accurate interpretations and troubleshooting steps.
2.3 Resetting Your DishDrawer After a Fault
To reset your DishDrawer after a fault‚ switch off the power and water supply. Wait for 30 seconds‚ then restore power and run a short cycle. For some models‚ press and hold the “Start” button for 5 seconds to reset. Ensure no blockages or issues causing the fault are resolved before restarting. If the problem persists‚ consult the user manual or contact a Fisher & Paykel technician for assistance. Regular resets can help maintain optimal performance and prevent recurring issues.
- Turn off power and water supply.
- Wait 30 seconds.
- Restore power and test operation.
Maintenance and User-Care Guidelines
Regular cleaning of filters and spray arms ensures optimal performance. Check and maintain the drain to prevent blockages. Ensure proper installation and alignment for smooth operation. Regularly inspect and clean the DishDrawer to avoid issues and extend its lifespan. Always refer to the manual for specific maintenance recommendations.
- Clean filters and spray arms regularly.
- Check and maintain the drain system.
- Ensure proper installation and alignment;
- Regularly inspect and clean the appliance.
3.1 Cleaning the Filter and Spray Arm
Cleaning the filter and spray arm is crucial for maintaining your DishDrawer’s performance. Remove the filter from the bottom of the dishwasher and rinse it under warm water to eliminate food particles. Check the spray arm for blockages and ensure all holes are clear. Regularly cleaning these components prevents poor washing results and promotes efficient water flow. Refer to your manual for specific instructions on disassembling and reassembling these parts. A clean filter and spray arm ensure optimal cleaning power and reduce the risk of errors.
- Remove and rinse the filter regularly.
- Inspect the spray arm for blockages.
- Ensure proper water flow and cleaning efficiency.
TIP: Clean these parts monthly to maintain performance.
3.2 Checking and Maintaining the Drain
Regularly inspect the drain system to ensure proper water flow and prevent blockages. Check the drain hose for kinks or twists and verify that it is securely connected to both the dishwasher and the sink drain. Remove any debris from the drain filter‚ located at the bottom of the dishwasher‚ to maintain efficient drainage. If you notice poor drainage or odors‚ clean the drain thoroughly with a soft brush or vinegar solution. A well-maintained drain system prevents leaks and enhances performance.
- Inspect the drain hose for kinks or blockages.
- Clean the drain filter regularly.
- Ensure proper connection to the sink drain.
TIP: Check the drain system monthly to avoid issues.
3.3 Ensuring Proper Installation and Alignment
Proper installation and alignment are critical for optimal performance of your DishDrawer. Ensure the unit is level and securely fastened to prevent vibration or movement during operation. For integrated models‚ verify the 8mm air gap between the DishDrawer and surrounding cabinetry is maintained. Check that the drawer aligns perfectly with the chassis to ensure smooth closing and sealing. Misalignment can lead to poor performance or damage. Refer to the installation guide for specific instructions.
- Ensure the unit is level and securely installed.
- Verify proper alignment for smooth operation.
- Check the 8mm air gap for integrated models.
TIP: Always follow the installation guide for precise alignment and leveling.
Troubleshooting Common Issues
Troubleshooting common issues with your Fisher & Paykel DishDrawer ensures optimal performance. Identify and resolve problems promptly to maintain efficiency. Refer to specific fault codes for tailored solutions. TIP: Regular checks prevent major issues.
4.1 No Power or Display Issues
If your DishDrawer has no power or the display isn’t functioning‚ check the power supply and circuit breaker. Ensure the child lock isn’t activated and the drawer is properly closed. Verify electrical connections and consult the manual for reset procedures. If issues persist‚ contact a certified technician. Regular maintenance and inspections can prevent such problems. Always follow safety guidelines when troubleshooting electrical components. TIP: Ensure the power cord is securely connected to both the appliance and the outlet.
4.2 Water Supply Problems
Water supply issues can cause poor wash performance or error codes like U1 or A1. Check if the water supply tap is fully open and not blocked. Inspect the inlet filter for debris and clean it if necessary. Ensure the water supply hose is kink-free and securely connected. If problems persist‚ verify the inlet valve’s operation. Refer to the manual for specific guidance on resolving water supply faults. Regular maintenance can prevent such issues from occurring. Always ensure proper water flow for optimal performance.
4.3 Drainage and Leakage Concerns
Drainage issues‚ such as blockages or leaks‚ can cause error codes like A3. Check the drain hose for kinks or obstructions and ensure it’s securely connected. Verify the filter and spray arm are clean‚ as debris can disrupt water flow. Inspect the dishwasher’s base for signs of leakage. If issues persist‚ consult the manual for diagnostic steps or reset the appliance. Addressing drainage problems promptly prevents further damage and maintains efficient operation. Regular maintenance helps avoid such concerns.
Advanced Diagnostic Techniques
Advanced diagnostic techniques involve using diagnostic modes to identify faults‚ checking electrical connections‚ and verifying sensors. These methods ensure accurate troubleshooting and efficient appliance repair. Regular checks prevent issues.
5.1 Using Diagnostic Modes
Using diagnostic modes on your Fisher & Paykel DishDrawer helps identify faults efficiently. Activate diagnostic mode by pressing specific buttons‚ as outlined in the manual. This mode displays error codes like U1 or A1‚ indicating issues such as water supply or drainage problems. Once activated‚ the appliance performs self-tests to detect malfunctions. Review the codes and refer to the troubleshooting guide for solutions. If unresolved‚ contact a certified technician. Regular use of diagnostic modes ensures early detection of potential issues‚ preventing major repairs and maintaining optimal performance. Always consult the manual for precise activation steps and code interpretations.
5.2 Checking for Blockages
Regularly inspecting your Fisher & Paykel DishDrawer for blockages ensures smooth operation. Check the filter‚ spray arm‚ and drain for debris or food particles. Remove and clean the filter as described in the manual. Inspect the spray arm for blockages and ensure it rotates freely. If the drain is clogged‚ clear it carefully to restore proper water flow. Refer to the manual for specific guidance on accessing these components. Addressing blockages promptly prevents error codes and maintains efficient performance. Always reassemble parts securely after cleaning to avoid further issues.
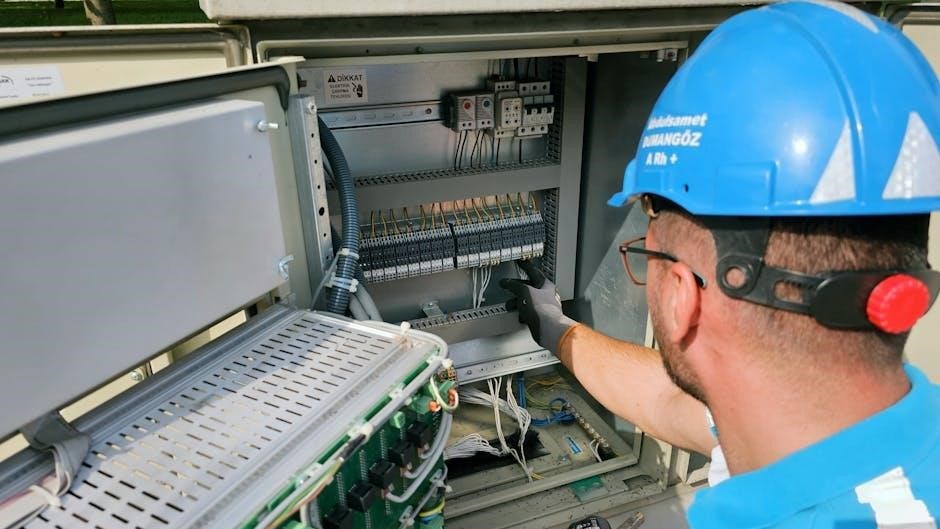
5.3 Verifying Electrical Connections
Ensure all electrical connections for your Fisher & Paykel DishDrawer are secure and functioning properly. Check the power cord for damage or loose connections. Verify that the dishwasher is plugged into a working outlet and that the circuit breaker or fuse has not tripped. If issues persist‚ consult a qualified electrician or Fisher & Paykel technician. Proper electrical connections are critical for safe and reliable operation. Always follow safety guidelines when handling electrical components to avoid potential hazards or damage to the appliance.
Repair and Replacement Guidelines
For Fisher & Paykel DishDrawer repairs‚ always refer to the manual for specific instructions. If issues persist‚ contact a certified technician to avoid further damage or safety risks.

6.1 When to Contact a Professional
If your DishDrawer issue persists after troubleshooting‚ it’s crucial to contact a Fisher & Paykel authorized service technician. They specialize in diagnosing complex faults‚ such as internal component failures or advanced error codes like U1 or A1. Attempting repairs without proper training can void the warranty or cause safety hazards. Always refer to the manual for guidance on when professional intervention is necessary to ensure your appliance operates safely and efficiently.
6.2 Ordering Replacement Parts
When ordering replacement parts for your Fisher & Paykel DishDrawer‚ ensure you use genuine components to maintain performance and warranty validity. Refer to your product’s model number and code‚ located on the chassis trim‚ to identify the correct parts. Visit the Fisher & Paykel website or contact an authorized dealer to purchase authentic components. Using non-genuine parts may void your warranty or cause further damage. Always verify compatibility before placing an order to ensure proper fitment and functionality.
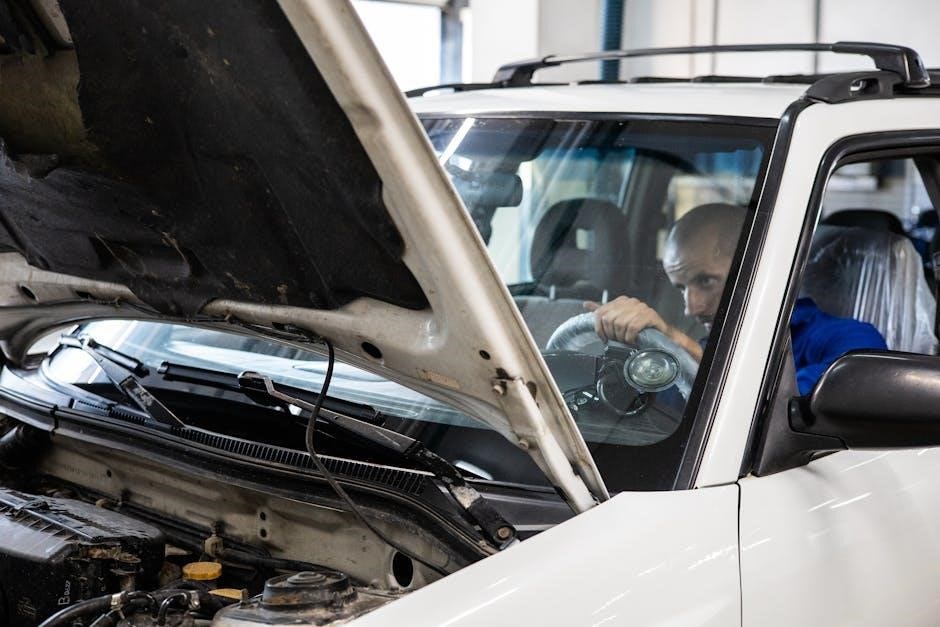
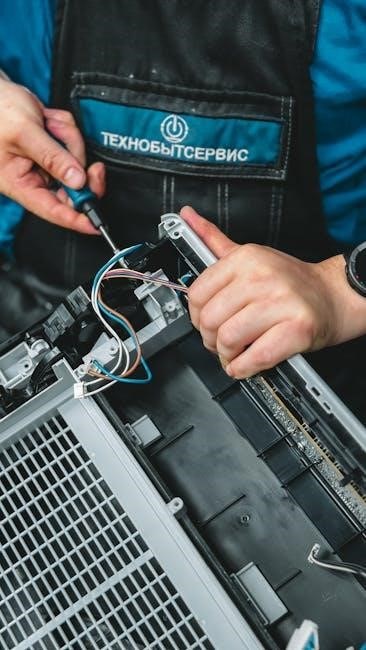
6.3 Safety Precautions During Repairs
Always disconnect power and water supplies before attempting repairs to avoid electrical shock or water damage. Wear protective gloves and eyewear to prevent injury. Ensure the appliance is stable and on a level surface to prevent tipping. Never attempt repairs beyond your skill level; complex issues require professional expertise. Follow the manual’s instructions carefully and avoid using unauthorized tools. Keep children and pets away during repairs. Ensure proper ventilation and avoid overreaching to maintain a safe working environment. Prioritize safety to prevent accidents and ensure effective repairs.